
Don’t start construction yet. I wasted $1,200 making these 5 common shed building mistakes. Learn from my experience and save your foundation.
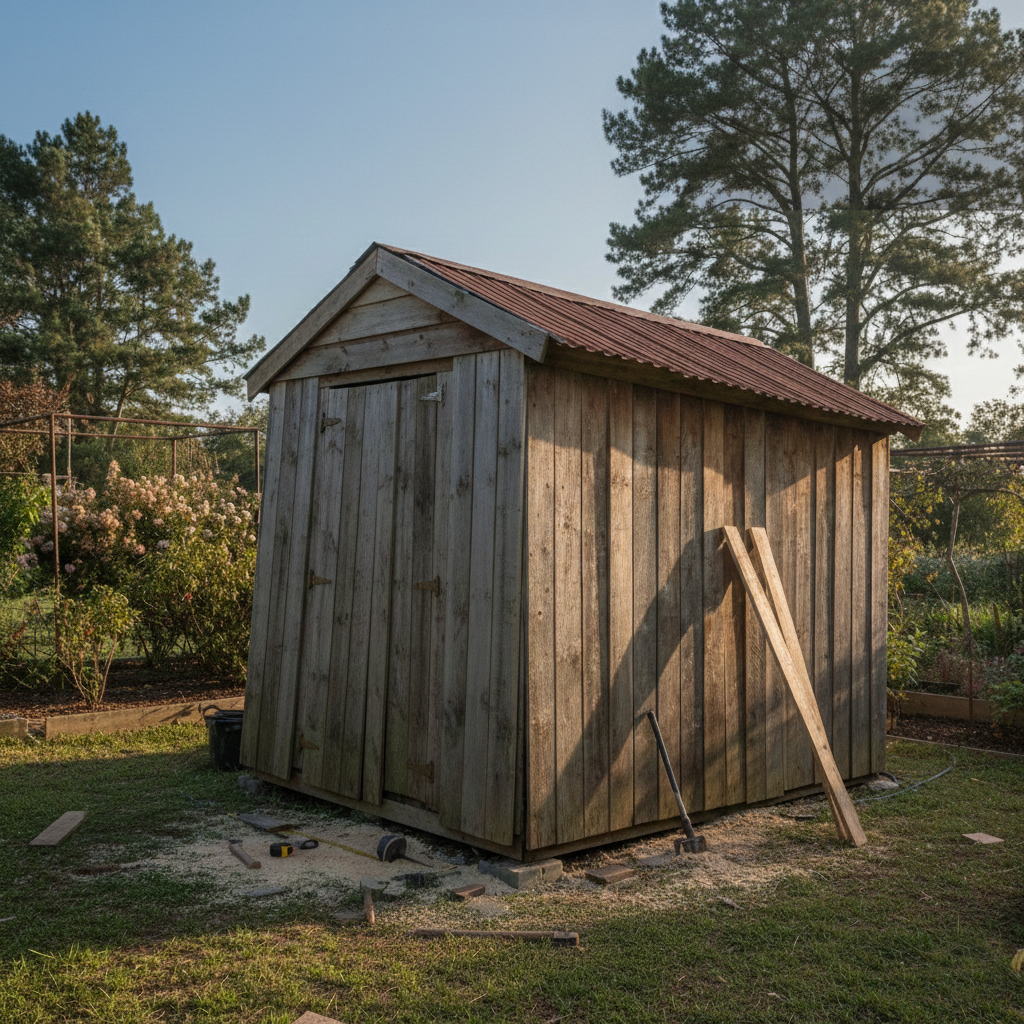
I look back at photos of my first shed now and I cringe. Seriously, it hurts to look at it.
Note: This post contains affiliate links. If you buy through them, I may earn a commission at no cost to you. I only recommend tools I trust.
At the time, I felt like a hero. I stood in the backyard with a beer in hand, admiring my crooked creation, thinking I had just saved thousands of dollars by doing it myself. I told my wife it was a “rustic” masterpiece.
Fast forward twelve months. The door wouldn’t close. The roof leaked. The whole structure was leaning to the left like it had one too many beers itself.
I ended up tearing it down three years later.
That first project taught me a lot, but the tuition was expensive. I wasted hundreds of dollars on materials and even more hours on frustration. I’m sharing these mistakes now so you can keep your cash in your wallet and your sanity intact.
Here are the five biggest ways I messed up, and how you can avoid them.
1. Ignoring the Foundation (The “Float and Sink” Method)
This was my biggest rookie move. I was so excited to start framing walls that I treated the foundation as an afterthought.
I figured, “It’s just a shed, right? It’s not the Taj Mahal.”
I bought some concrete deck blocks. I threw them on the grass. I started building.
The Problem: Dirt moves. It freezes, it thaws, and when it rains, it gets soft. Within six months, the back corner of my shed had sunk about two inches into the mud.
That doesn’t sound like much, but in construction, two inches is a mile. It twisted the entire frame. The door frame went out of square, so the door jammed every time it got humid. The siding started to buckle. I tried shimming it up with scrap wood, but it was a losing battle.
How to Fix It:
- Dig deep: Even for a small shed, clear the topsoil.
- Use gravel: Lay down a bed of crushed stone (compacted gravel) to facilitate drainage.
- Level it perfectly: Spend 50% of your energy on the base. If the base isn’t level, nothing else will be.
2. Buying Cheap Lumber (The “Banana Board” Special)
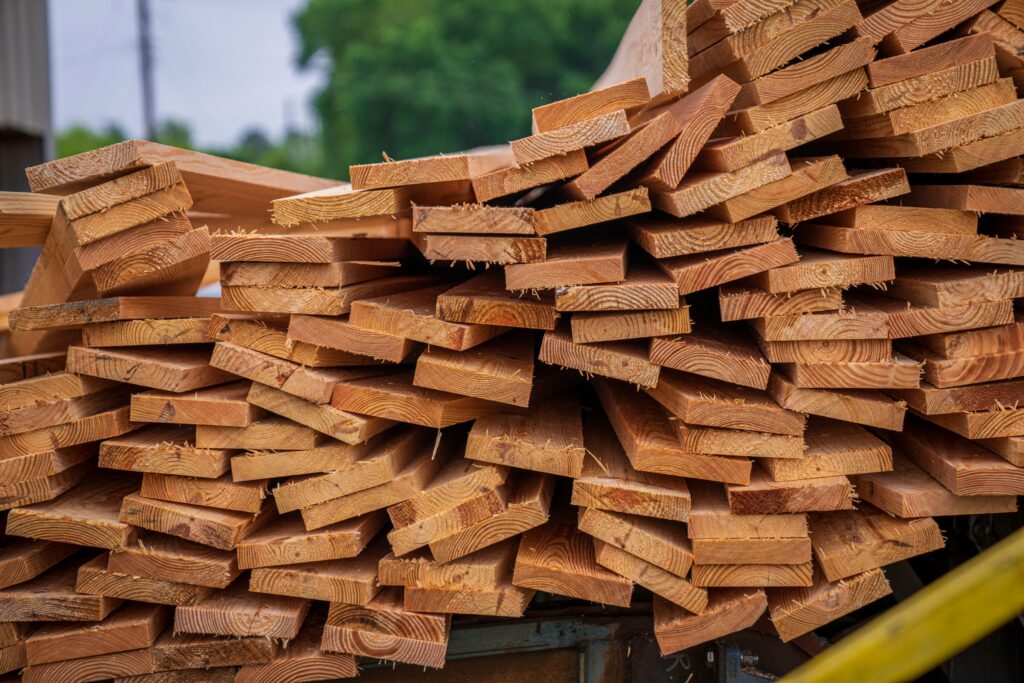
I went to the big box store on a Saturday morning. I saw a stack of 2x4s on sale. I loaded up my cart without looking at them closely because I was in a rush to get home and start cutting.
The Problem: I bought “green” or wet lumber that was full of knots. When wood dries, it shrinks and twists.
Two weeks after I built the walls, the wood started to dry out in the sun. My studs turned into bananas. My wall plates twisted. This put stress on the screws and actually popped some of the siding nails out.
I also didn’t check for “crowning” (the natural curve of the board). I installed some studs with the curve facing out and some facing in. The result? A wall that looked like a rollercoaster.
How to Fix It:
- Pick the pile: Don’t just grab the top board. Look down the length of the board like you’re aiming a rifle. If it curves, toss it back.
- Check for moisture: Avoid wood that feels heavy or damp.
- Crowns up: Mark the curve (crown) on every board and install them all facing the same direction.
3. Wingin’ It (The “Napkin Blueprint” Disaster)
This is the one that hurts the most to admit.
I thought I knew enough math. I sketched the shed on a napkin at the kitchen table. “8 feet by 10 feet,” I wrote. “Roof goes here.”
I started cutting.
The Problem: Construction math is deceptively hard. I didn’t account for the thickness of the siding. I didn’t calculate the roof pitch correctly.
When I got to the roof rafters, nothing fit. I cut one rafter, held it up—too short. I cut another—too long. The “bird’s mouth” cuts (where the rafter sits on the wall) were a nightmare.
I wasted probably $150 in lumber just on trial-and-error cuts. I ended up with a roof that was slightly off-center, which made shingling it a total headache.
How to Fix It:
- Stop guessing: Unless you are an engineer, don’t draw your own plans. It’s arrogance, plain and simple.
- Get verified plans: This is why I use Ted’s Woodworking Plans now. I need a “cut list” that tells me exactly how long to make the rafters. It takes the math out of the equation. If the plan says cut at 45 degrees, I cut at 45 degrees, and it fits. It saves me more in lumber waste than the plans cost.
4. Forgetting the Roof Overhang
I wanted to maximize the interior space, so I pushed the walls out to the very edge of the roof. I left maybe a one-inch overhang on the sides.
I thought it looked sleek. Nature disagreed.
The Problem: The overhang on a roof isn’t just for style; it’s an umbrella for your walls. Because my overhang was non-existent, every time it rained, water dripped directly onto the top of my siding.
Splash-back was even worse. Rain hit the ground and splashed mud and water up onto the bottom foot of the shed. After two years, the bottom of my siding was black with mold and starting to rot.
How to Fix It:
- Go wide: Give yourself at least a 6-inch to 12-inch overhang on all sides.
- Protect the walls: The further the water falls from the foundation, the drier your shed stays.
- Install gutters: Even on a small shed, a cheap gutter system saves your siding.
5. Skimping on Hardware (The Rust Bucket)
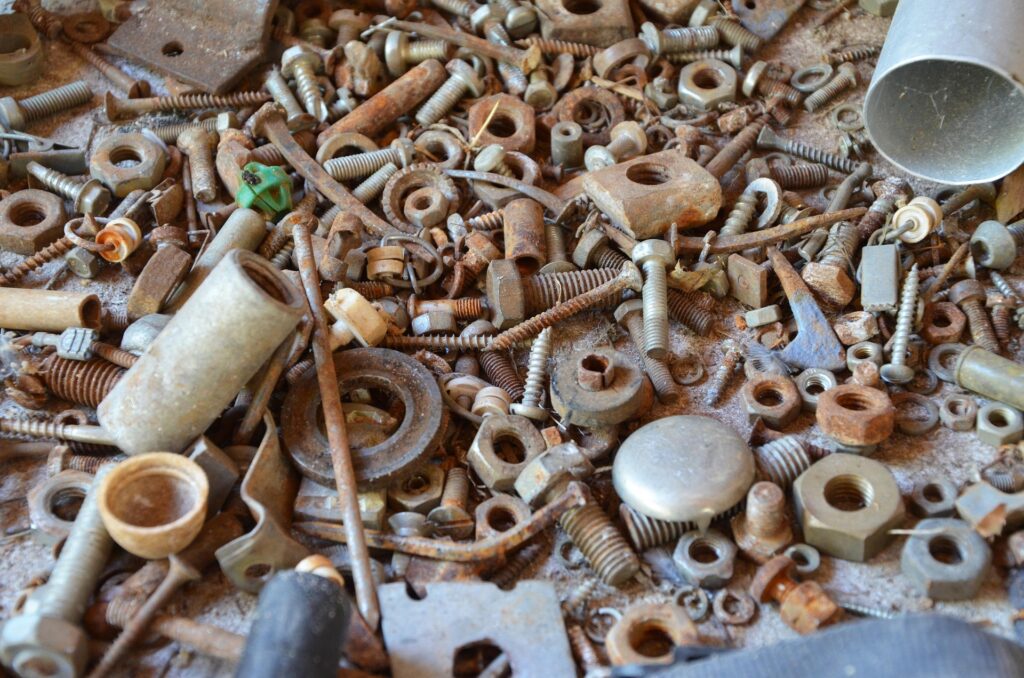
I had a big jar of drywall screws in my garage. I thought, “A screw is a screw, right?”
I used black drywall screws to attach my exterior trim and even some of the floorboards.
The Problem: Drywall screws are brittle. They snap easily under the pressure of wood expanding and contracting.
Worse, they aren’t galvanized. After the first winter, I noticed streaks of rust running down my nice white trim. The screws were bleeding rust. By year three, the heads had rusted off completely, and a piece of trim actually fell off during a windstorm.
How to Fix It:
- Exterior rated only: Look for “Deck Screws” or hot-dipped galvanized nails.
- Stainless steel: If you live near the coast, pay extra for stainless steel.
- Size matters: Use screws that penetrate at least 1.5 inches into the framing, not just the sheathing.
The Bottom Line
I built that first shed for about $800. I spent another $400 fixing it over the years. And then I tore it down.
That’s a $1,200 mistake.
When I built my second shed (the one that currently houses the kid’s bikes and my lawnmower), I did it differently. I spent a weekend prepping the gravel base. I bought exterior-grade screws. And most importantly, I used a set of plans from Ted’s library that told me exactly how to cut the roof rafters so I didn’t have to guess.
It went up in a weekend. It’s been standing for five years. It’s still level.
Don’t be like “Old Tony.” Learn from my wasted weekends.
Also feel free to check out some other topics.
What about you? What’s the biggest DIY disaster you’ve had in your garage? Drop a comment below—I need to know I’m not the only one who has built a crooked wall!