
Going off-grid? Protect your gear with these 3 DIY solar projects. From adjustable ground mounts to battery carts, build the perfect setup.
I have to admit, I’ve been bitten by the solar bug.
There is something incredibly satisfying about watching a power meter spin backwards—or better yet, watching a battery charge up purely from sunlight while you sip your morning coffee. It feels like getting away with something. It feels like magic.
Note: This post contains affiliate links. If you buy through them, I may earn a commission at no cost to you. I only recommend tools and plans I trust.
But here is the reality check that hit me hard when I bought my first couple of panels: Solar gear is expensive, and it is fragile.
You spend hundreds (or thousands) of dollars on glass panels and high-tech lithium batteries. The last thing you want to do is lean them against a tree or leave them sitting in the dirt. That is a recipe for a cracked screen or a short circuit.
This is where us woodworkers have a massive advantage. While everyone else is spending a fortune on aluminum racking systems and specialized mounting brackets, we can head into the shop and build custom solutions that are stronger, better looking, and a fraction of the price.
I’ve spent the last few months tinkering with “solar carpentry,” and I want to share three projects that bridge the gap between sawdust and voltage. These aren’t just about looking cool; they are about protecting your investment and getting every last watt out of the sun.
Let’s get building.
1. The Adjustable Solar Ground Mount (The “Sun Chaser”)
Let’s be real for a second: I hate heights. The idea of hauling a 40-pound glass panel up a ladder to mount it on my roof makes my palms sweat. Plus, once it’s on the roof, it’s stuck there. If a tree grows or the season changes, you can’t move it.
That’s why I love ground mounts. They are safe to build, easy to clean, and—if you build them right—you can move them.
But you can’t just nail some 2x4s together and hope for the best. Solar panels need to face the sun directly to work efficiently. In the winter, the sun is low; in the summer, it’s high. If your mount is fixed at one angle, you are losing up to 20% of your power production.
I decided to build a wooden A-frame mount that could tilt.
The Challenge: The Geometry Game
My first attempt was… rough. I tried to eyeball the angles. I cut some legs, bolted them together, and propped the panel up.
The problem? Wood warps. My frame wasn’t perfectly square, and when I tightened the bolts to hold the panel, I heard a sickening creak. I almost cracked the glass because the frame was twisting the panel.
The Solution: I realized I needed a mechanism that was designed to tilt smoothly and lock in place without twisting. I went digging through my plan archive and found a design for a heavy-duty adjustable artist’s easel in Ted’s Woodworking Plans.
It sounds crazy, right? An easel? But the mechanics were exactly what I needed. It had a sliding locking mechanism and a sturdy tripod base designed to hold a heavy canvas at precise angles.
I modified the dimensions to fit my 100-watt panels, used pressure-treated 2x4s instead of pine, and boom—I had a ground mount that I could adjust from 30 degrees to 60 degrees in seconds.
Why Build This?
- Safety: You stay on the ground. No ladders, no roof leaks.
- Efficiency: You can adjust the tilt every season (or even every month) to catch the maximum amount of sunlight.
- Cost: An aluminum ground mount costs $150+. This cost me about $30 in lumber and bolts.
Pro Tip: Use galvanized carriage bolts with wing nuts for the pivot points. This lets you adjust the angle by hand without needing a wrench every time.
2. The “Solar Generator” Cart (The Rover)
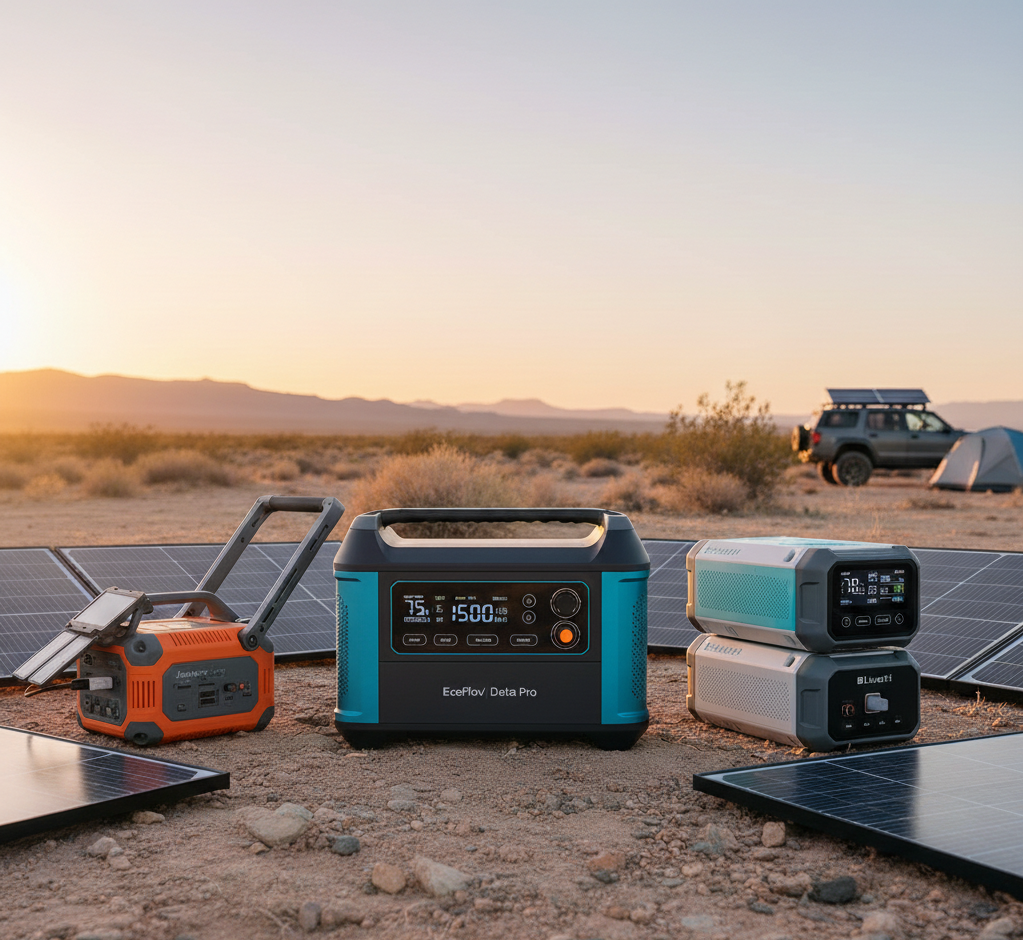
If you’ve been following the off-grid scene, you know that “Solar Generators” (those big portable batteries like EcoFlows, Jackeries, or Bluettis) are all the rage. They are amazing pieces of tech. They are also incredibly heavy.
My unit weighs about 45 pounds. Moving it from the garage to the backyard to power my tools, or dragging it to the campsite, is a back-breaker.
Also, these batteries hate two things:
- Moisture: Rain will kill them instantly.
- Heat: Direct sunlight will overheat the lithium cells and shut the unit down.
So, you have a dilemma. You need the battery outside to plug into the solar panels, but you can’t leave it in the sun or rain.
I built the “Solar Rover”—a rugged, all-terrain cart designed specifically to house and protect the battery.
The Design: The “Breathing” Cabinet
I couldn’t just build a box. If you put a high-output battery in a sealed wooden box, it will suffocate. The fans need to blow air to keep the electronics cool.
I designed a cart using scrap plywood and 2x2s that features:
- Louvered Vents: I cut angled vents into the sides (like window blinds) that point downward. This lets air flow in and out freely, but if it starts raining, the water runs off the slats and can’t get inside.
- Oversized Wheels: I didn’t use tiny casters. I bought two 10-inch pneumatic tires (like you’d see on a hand truck) from the hardware store. This lets me roll the cart over gravel, grass, and tree roots without rattling the battery to death.
- The “Dashboard”: I cut holes in the front face of the cart so I can access the AC outlets and USB ports without opening the door.
Why Build This?
- Mobility: It turns a stationary battery into a mobile power station. I can wheel it right up to my project site.
- Protection: It acts as a sunshade and a rain shield. My battery stays 10 degrees cooler inside the wooden cart than it does sitting on the driveway.
- Cable Management: I added hooks on the side to coil up the 30-foot solar cables, so I’m not tripping over spaghetti wire.
3. The Off-Grid Garden Shed (The Power Shack)

This is the big one. The dream project.
If you are serious about off-grid power, eventually you run out of space for batteries in the garage. You want a dedicated space—a “Power Shack”—to house the inverter, the charge controllers, and the battery bank, with the panels mounted securely on the roof.
I decided to build a small 8×10 garden shed that would double as my solar hub.
The Structural Trap
Here is where a lot of DIYers get into trouble. I almost did too.
I was planning to just throw up some standard rafters, slap on some plywood, and screw the panels into the roof.
Then I did the math.
- The Panels: Four large residential panels weigh about 160 pounds.
- The Snow: I live where it snows. Wet snow can weigh 20 pounds per square foot.
- The Wind: Solar panels act like giant sails. If a gust of wind gets under them, the uplift force is massive.
If I had “winged it” with standard 2×4 framing spaced 24 inches apart, my roof likely would have sagged within two years. Or worse, collapsed during a blizzard.
The Solution: I realized I couldn’t guess on the roof pitch or the rafter strength. I needed a framing plan that was over-engineered.
I went back to Ted’s Woodworking Plans and looked for shed designs. I found a plan for a “Heavy Duty Storage Shed” that used 2×6 rafters on 16-inch centers with reinforced collar ties.
The plan also detailed exactly how to calculate the roof pitch. I modified it to a 12/12 pitch (a 45-degree angle).
- Why 45 degrees? It’s the optimal angle for winter sun in my latitude.
- The Bonus: Snow slides right off it. It never builds up enough weight to bury the panels.
By following a verified blueprint, I knew the structure could handle the dead weight of the glass and the live weight of the weather. I slept a lot better during that first winter storm knowing my rafters weren’t bending.
Why Build This?
- Centralized Power: Keeps all the dangerous high-voltage gear out of your main house.
- Optimal Mounting: You can orient the shed perfectly South, even if your house faces East or West.
- Battery Life: You can insulate the shed to keep the batteries above freezing in the winter (lithium batteries can’t charge below 32°F).
The Verdict: Don’t Guess with High Voltage
Woodworking and solar power are a perfect match, but only if you respect the physics involved.
When you are mounting $2,000 worth of equipment, “good enough” isn’t good enough. You need the mount to be square so the glass doesn’t torque. You need the shed roof to be strong enough to hold the weight. You need the battery cart to breathe.
I love the creativity of DIY, but I also love my wallet. Using solid plans prevents the kind of expensive accidents that make you want to quit.
Whether you are building a simple tilt-mount for a 50-watt panel or a full-blown power shed, take the time to plan it out. Get the geometry right.
Are you planning to go off-grid, or are you just looking for backup power for your tools? Let me know in the comments—I’m curious what kind of setups you guys are running.
If you need a library of plans to help you design your mounts or sheds, check out the archive I use here: Ted’s Woodworking Plans. Or try another article on this topic.